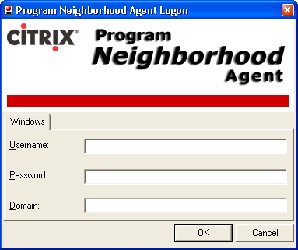
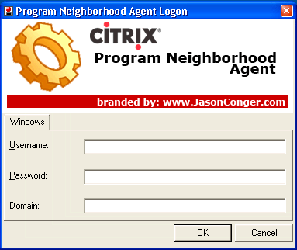
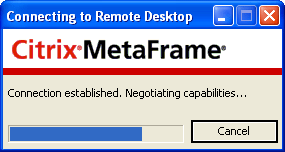
Using the techniques described in this article, it is possible to put your own custom logos on the client during application launch. See screen shots below:
 |
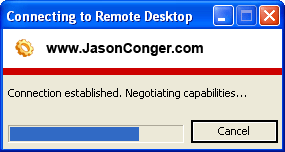 |
| Before | After |
- Citrix Presentation Server Client Packager
- Resource Hacker (free)
- Graphics Editing Software (Microsoft Paint is sufficient)
Step 1: Export Existing Citrix MetaFrame ImageThis step is performed to export the existing resource image so you can replace the image with a new one with identical dimensions.
Follow these steps to complete this task:
- Launch Resource Hacker and open statuiUI.dll. Note: statuiUI.dll is located in C:\Program Files\Citrix\ICA Client\resource\en for an English installation.
- Navigate to Bitmap -> 101 -> 1033 (Note: since I am using the English version of the client, 1033 is my locale ID. Your locale ID may differ)
- Right click 1033 and select “Save [Bitmap : 101 : 1033]…” Save this bitmap to any desired location

Step 2: Modify the Exported Image
Using your preferred graphics editor, open up the bitmap exported in step 1. Modify the image as desired and save as a different name if desired.
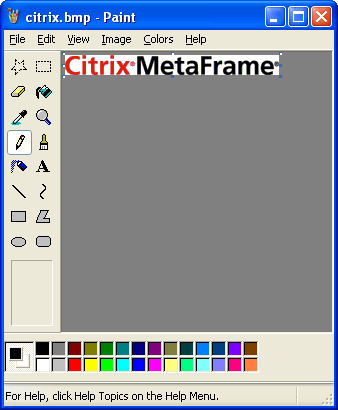
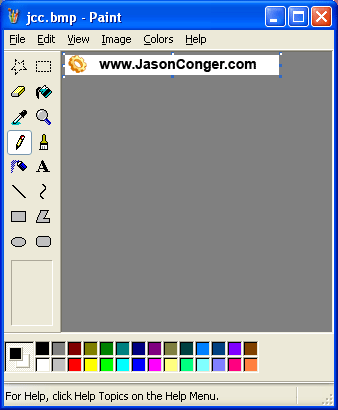
Step 3: Replace the Resource in statuiUI.dll
- Make a backup of statuiUI.dll
- Launch Resource Hacker
- Navigate to Bitmap -> 101 -> 1033
- Right click 1033 and select “Replace Resource…”
- Click the button labeled “Open file with new bitmap…”
- Navigate to the bitmap created in step 2.
- Click the Replace button.
- Save the new statuiUI.dll file.
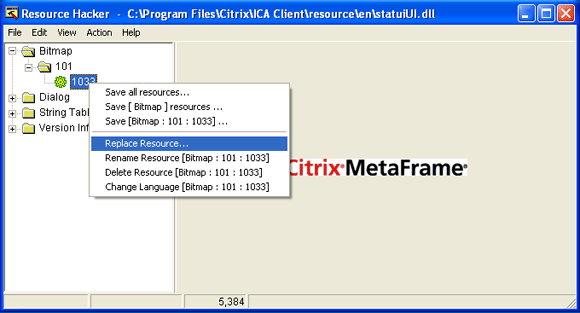 You will now have a branded client when launching applications. Go ahead and try it out.
 You will probably notice that about half way through the application launch process, the picture you created in this step reverts back to the original Citrix Metaframe bitmap if you are running Presentation Server 3.0 or above. Why does this happen? Read on.
Citrix introduced an improved user logon process in Presentation Server 3.0 and above that included a progress bar indicating connection status throughout the entire application launch process. Basically, when you launch a published application, the process starts on the client computer setting up the connection to the server. Then, the process gets handed over to the server to complete the application launch (logon to the server, load the profile, etc). Prior to Presentation Server 3.0, when the launch process got handed over to the server, the Windows logon dialog boxes were displayed. This created kind of a disjointed look and feel for the end user. In Presentation Server 3.0 and above, the Windows logon dialog boxes were “replaced” with new dialogs that look like the local client dialog. This gave the end user a smooth looking look and feel throughout the entire launch process.
So, how do you stop this seemingly regression from happening? Move on to step 4.
Step 4: Replace statuiUI.dll on the Server.
The “replacement” dialog box for the server piece of the launch process is located at system_drive:\Program Files\Citrix\System32\resource\en\statuiUI.dll. Simply make a backup of this file and replace it with the statuiUI.dll file created in step 3.
Note: this file may be locked if other people are logged in to the server.
Now, try launching an application again and you will notice that the branding stays throughout the entire launch process.
Another file that is fun to play with is the login screen for the PN Agent. That resource is C:\Program Files\Citrix\ICA Client\resource\en\pnagenUI.dll. Have fun!
