PowerShell is the new API for Citrix XenApp starting with version 6. Whether you want to write interactive applications or work with your XenApp farm via command line, you first need to set up the XenApp 6 PowerShell SDK. This post will step you through setting up the Citrix XenApp 6 PowerShell SDK in your environment.
Installing the Citrix XenApp 6 PowerShell cmdlets
Before we get started, you first need to download and install the Citrix XenApp PowerShell SDK (which includes the XenApp cmdlets). You can download the SDK here: http://community.citrix.com/display/xa/XenApp+6+PowerShell+SDK.
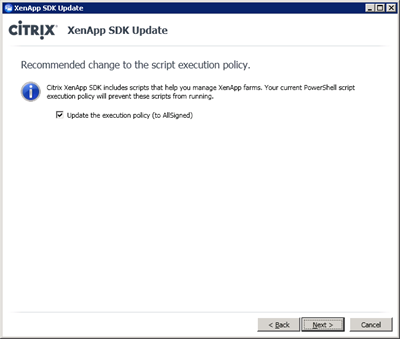
I recommend installing this on one of your XenApp 6 servers. Technically, you can install this on a workstation and use remoting to remote all the commands to a XenApp 6 server, but it is very messy and doesn’t always work from my experience. Anyway, during the setup of the SDK, you will be asked to set the PowerShell execution policy to AllSigned. It is a good idea to leave this box checked to prevent malicious PowerShell scripts from ruining your day.
Adding the Snapins to your Runspace
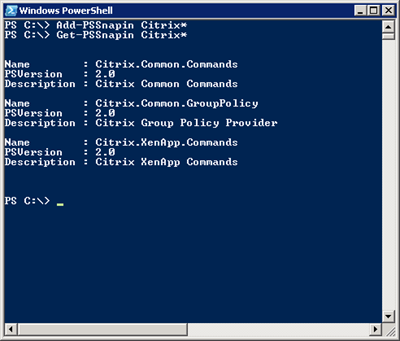
After installation is complete, the assemblies will be loaded into the GAC (Global Assembly Cache). Every time you want to use the Citrix XenApp cmdlets, you will need to add the snapins to your PowerShell runspace. This can be done by launching PowerShell and using the Add-PSSnapin command as seen below:
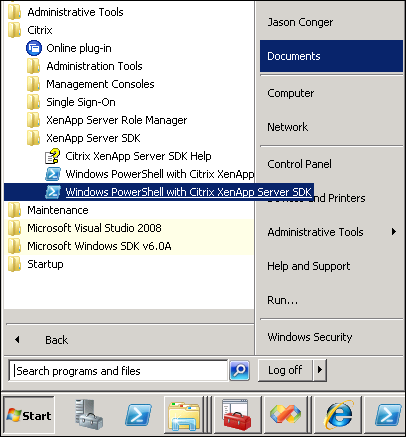
Adding the snapins will allow you to execute all the XenApp cmdlets. Alternatively, you can launch PowerShell from the Citrix/XenApp Server SDK folder in the start menu as seen below. This will launch a PowerShell runspace with all the Citrix snapins loaded and ready to go.
You are now ready to start PowerShelling your Citrix environment.


